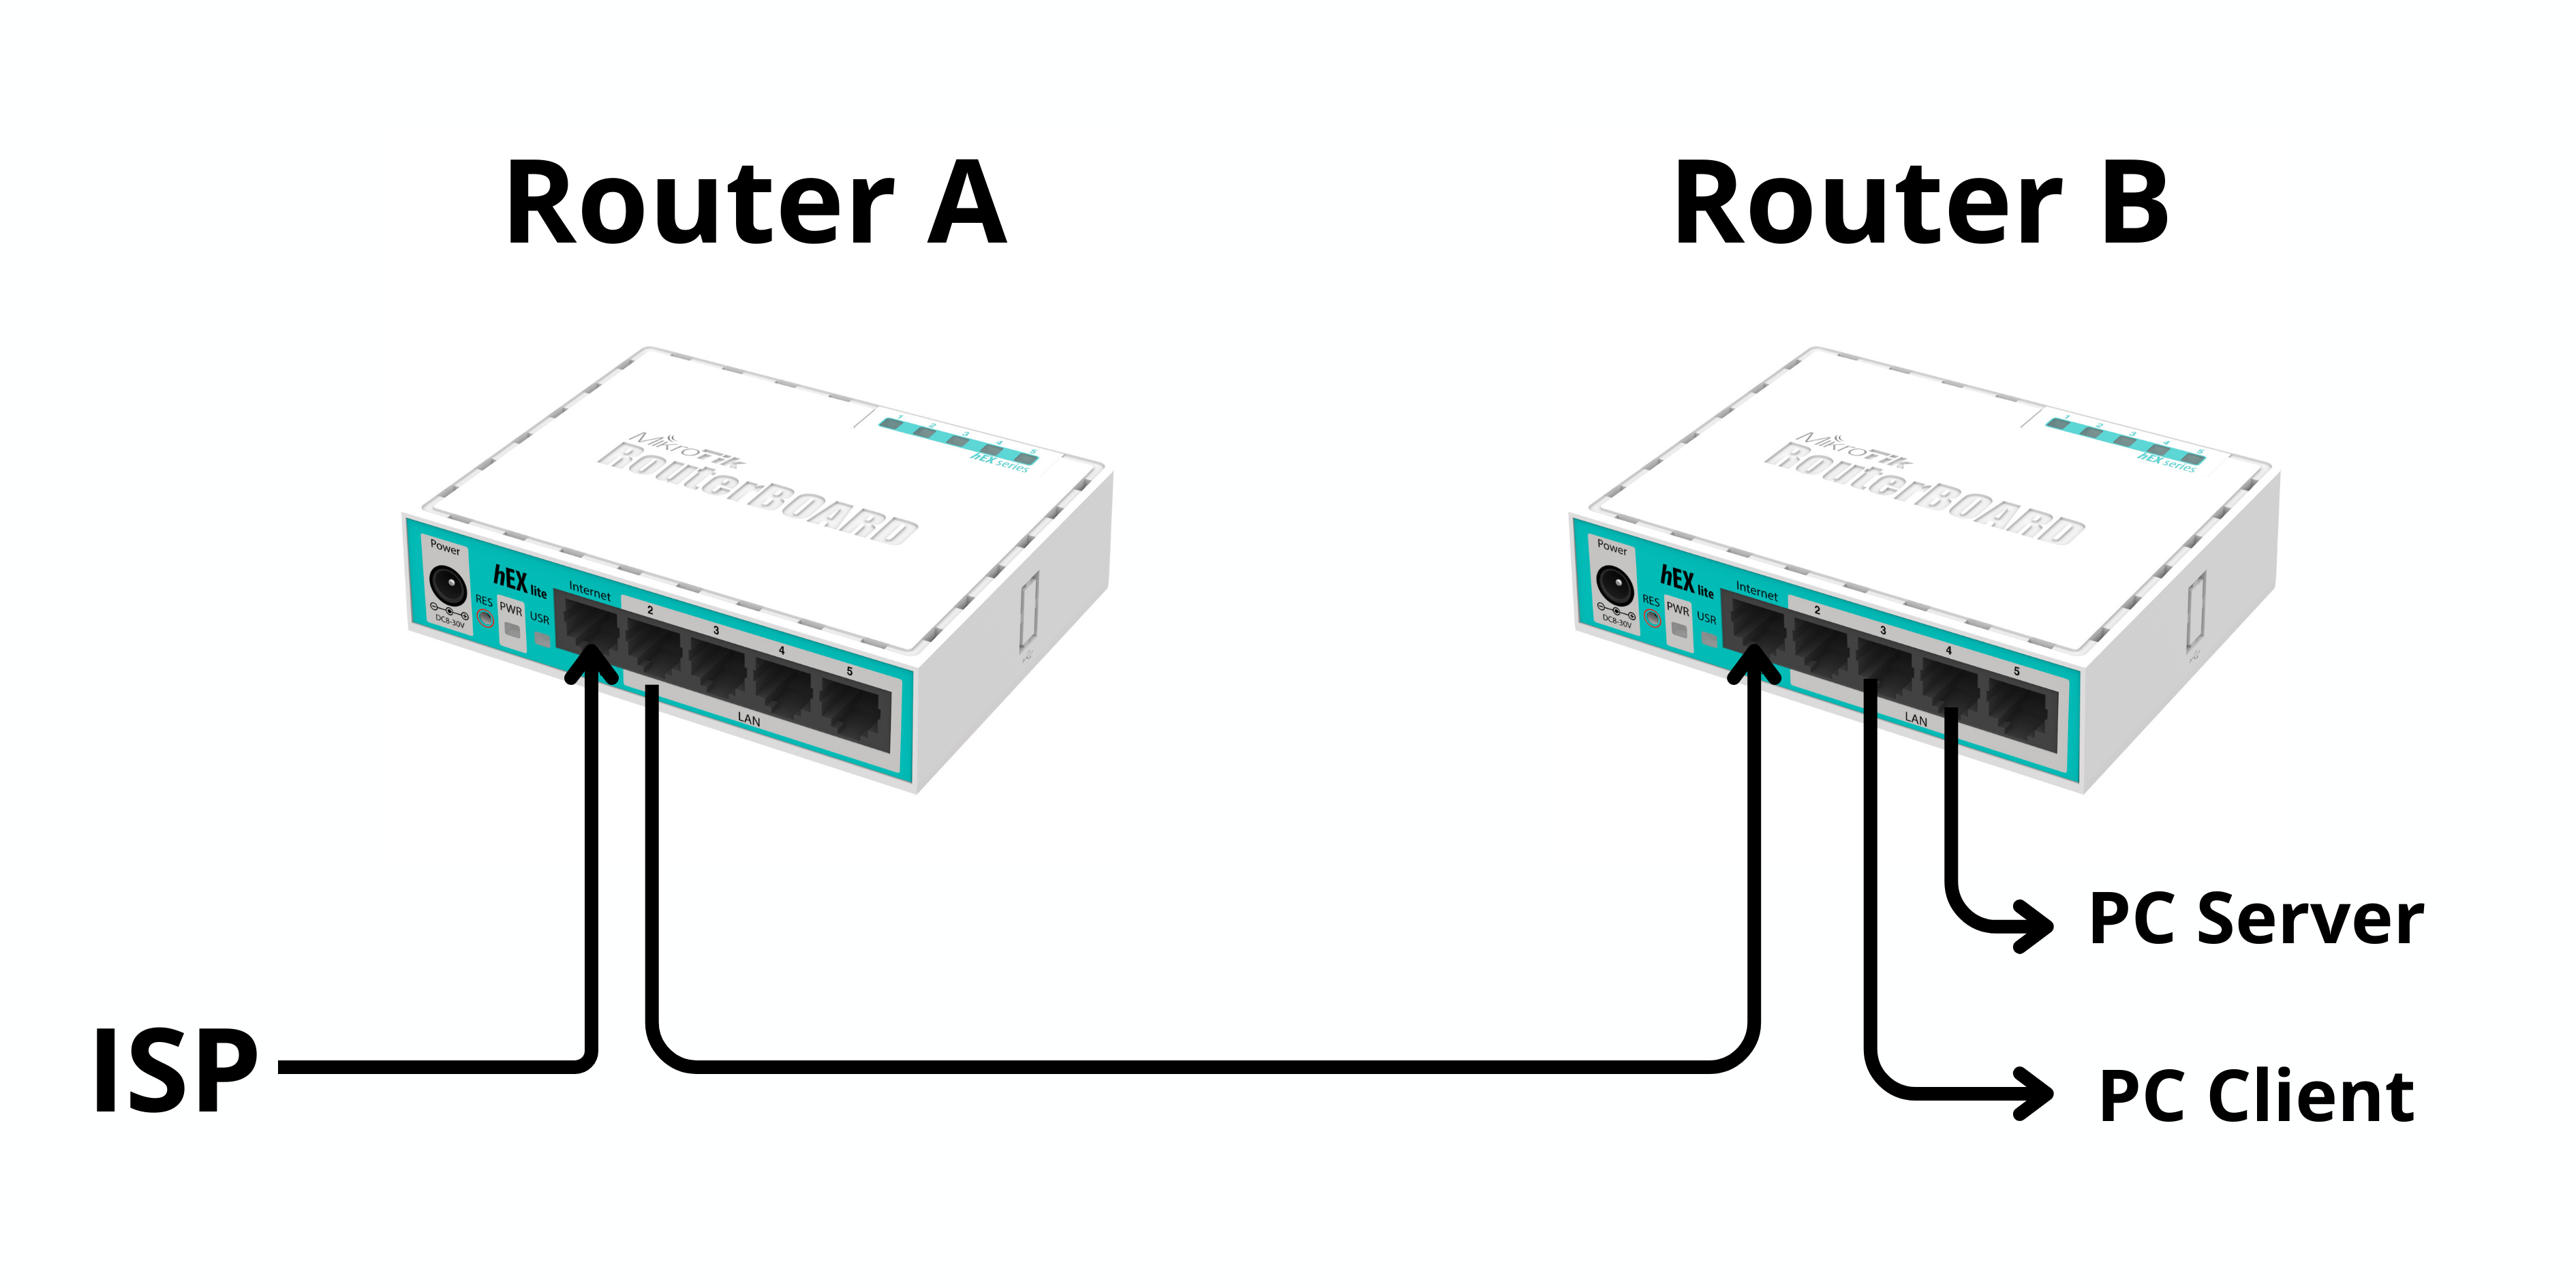
Topologi Jaringan
Topologi digunakan untuk membagi jaringan menjadi beberapa VLAN (10, 20, 30) dengan 1 jalur internet.
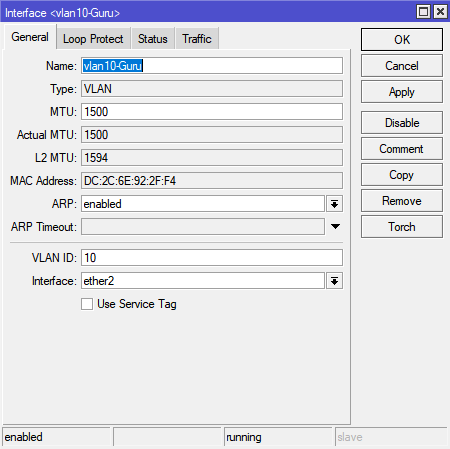
1. Membuat VLAN
Masuk ke menu: Interfaces → VLAN → Add (+)
Lalu buat VLAN:
- VLAN 10 → VLAN ID: 10
- VLAN 20 → VLAN ID: 20
- VLAN 30 → VLAN ID: 30
Interface: pilih ether2 (port ke switch / jaringan VLAN)
📌 Artinya: semua VLAN akan lewat 1 port (trunk)
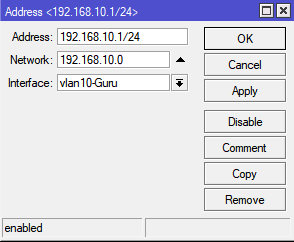
2. Memberikan IP Address pada VLAN
Masuk ke: IP → Addresses → Add (+)
Isi masing-masing VLAN:
- VLAN 10 →
192.168.10.1/24 - VLAN 20 →
192.168.20.1/24 - VLAN 30 →
192.168.30.1/24
📌 Ini akan menjadi gateway untuk masing-masing jaringan VLAN
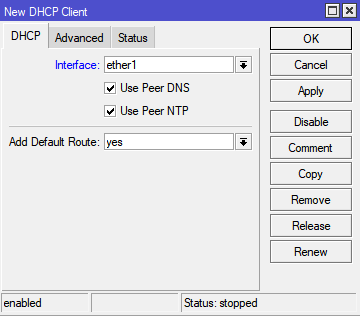
3. DHCP Client (Akses Internet)
Masuk ke: IP → DHCP Client → Add
- Interface:
ether1(yang terhubung ke internet / ISP)
📌 Fungsi: supaya router otomatis dapat IP internet
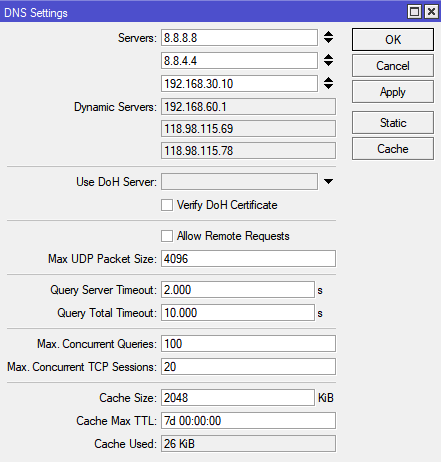
4. Konfigurasi DNS
Masuk ke: IP → DNS
Isi DNS Server:
8.8.8.8
8.8.4.4
192.168.30.10
📌 Penjelasan:
8.8.8.8 & 8.8.4.4→ DNS Google (internet)192.168.30.10→ DNS lokal (Ubuntu Server yang kamu buat)
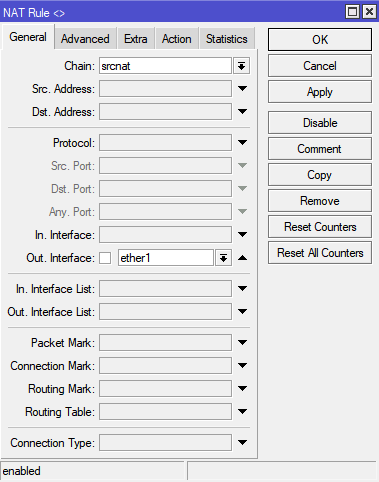
5. NAT (Agar Bisa Internet)
Masuk ke: IP → Firewall → NAT → Add (+)
Tab General:
- Chain:
srcnat - Out Interface:
ether1
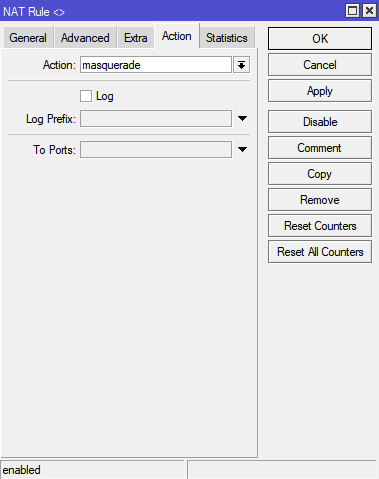
Tab Action:
- Action:
masquerade
📌 Ini WAJIB, tanpa ini client tidak bisa akses internet
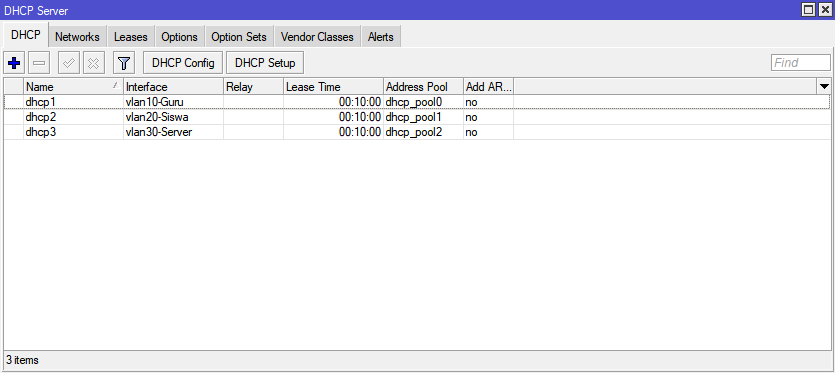
6. DHCP Server untuk Setiap VLAN
Masuk ke: IP → DHCP Server → DHCP Setup
Lakukan untuk masing-masing VLAN:
- VLAN 10
- VLAN 20
- VLAN 30
Saat setup:
- Gateway: otomatis sesuai IP VLAN
- DNS Server isi:
8.8.8.8
8.8.4.4
192.168.30.10
📌 Tujuan: supaya client otomatis dapat IP + DNS
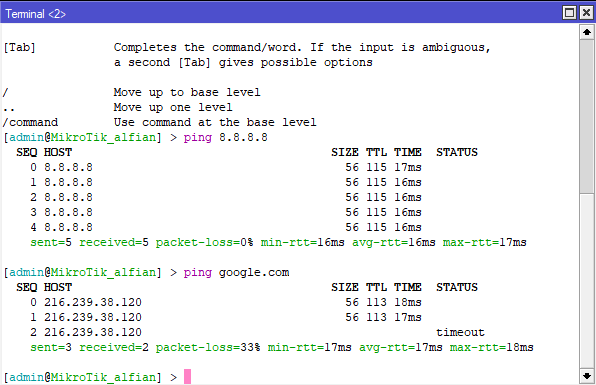
7. Testing Koneksi
Cek dari MikroTik (Terminal Winbox):
ping google.com
ping 8.8.8.8
Hasil:
✅ Berhasil
- Muncul reply → internet OK
❌ Gagal
-
request timeout→ ada yang salah di:- NAT belum dibuat
- DHCP client belum dapat IP
- DNS salah
- Kabel / interface salah